Hi All,
When I first saw Pretty Pink Posh’s Cupcake Critters stamp set I knew I had to have it. All the images are so cute but the bunny, in particular, stole my heart. This is such a great birthday set and I highly recommend adding it to your stash.
Image
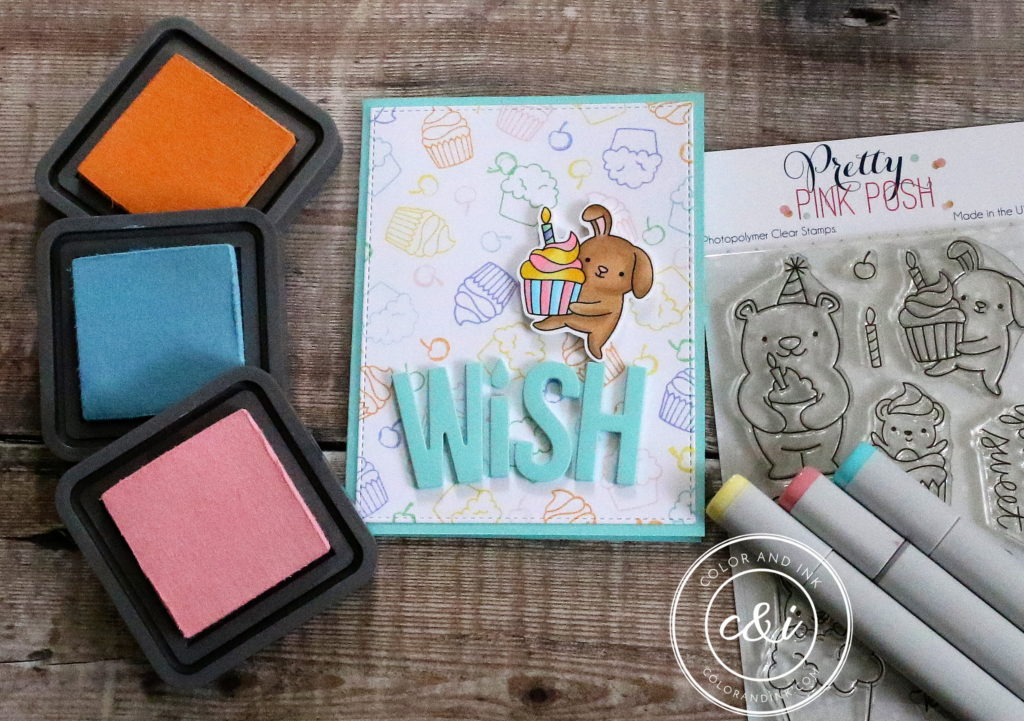
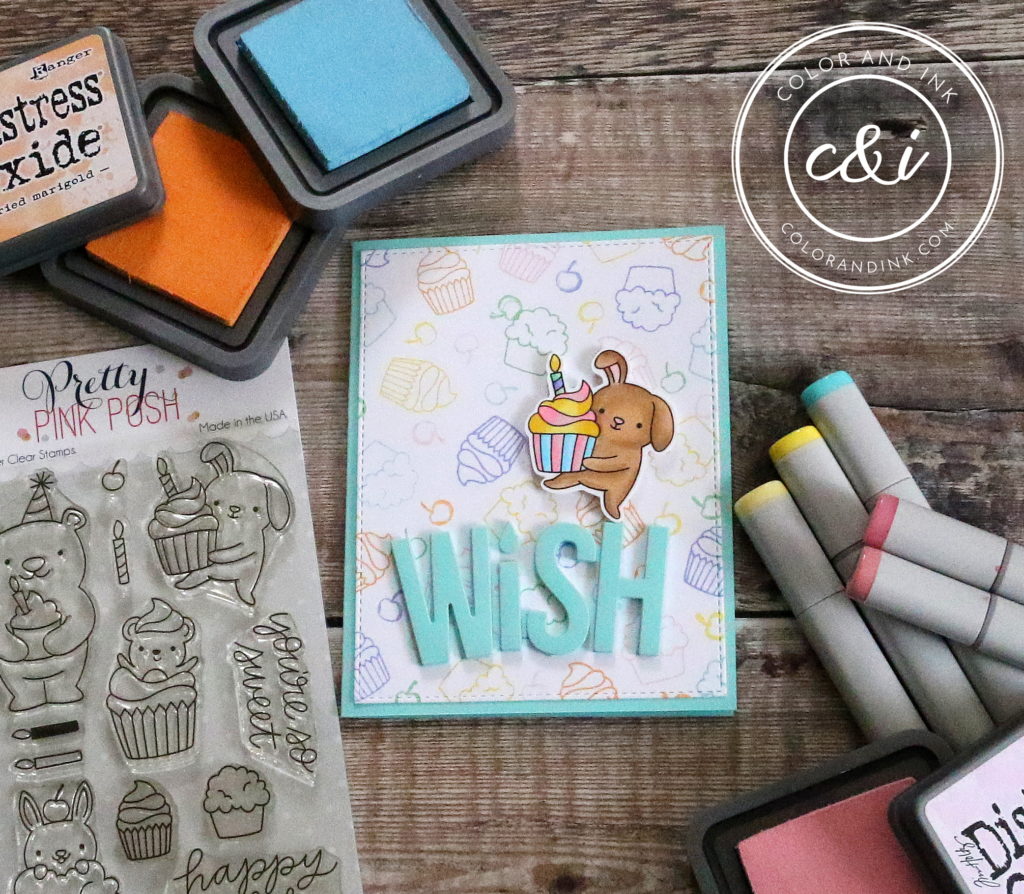
I’m sure it’s no surprise that I chose to use the bunny for my card today. Since Spring is just starting to take shape where I live I decided to use pastel colors for this card. I also thought it would be fun to use rainbow colors but to keep with the pastel theme I swapped pink for red.

Background
For the background, I wanted to create my own custom paper so I stamp the two cupcakes and cherry for the set all over the background panel. Keeping with my pastel rainbow theme I used the following colors of Distress Oxide Ink: Spun Sugar, Squeezed Lemonade, Wild Honey, Cracked Pistachio, Tumbled Glass, and Shaded Lilac.
Sentiment
I’ve been wanting to use the super cute MFT Wish die for a while and I thought it would be the perfect sentiment for this card. I die cut the word from aqua colored cardstock and popped it up using craft foam. I decided it was a bit more fun for the sentiment not to be straight so I arranged it as an arch. I then placed the bunny so it appears to be balancing on the sentiment.

Inside the Card
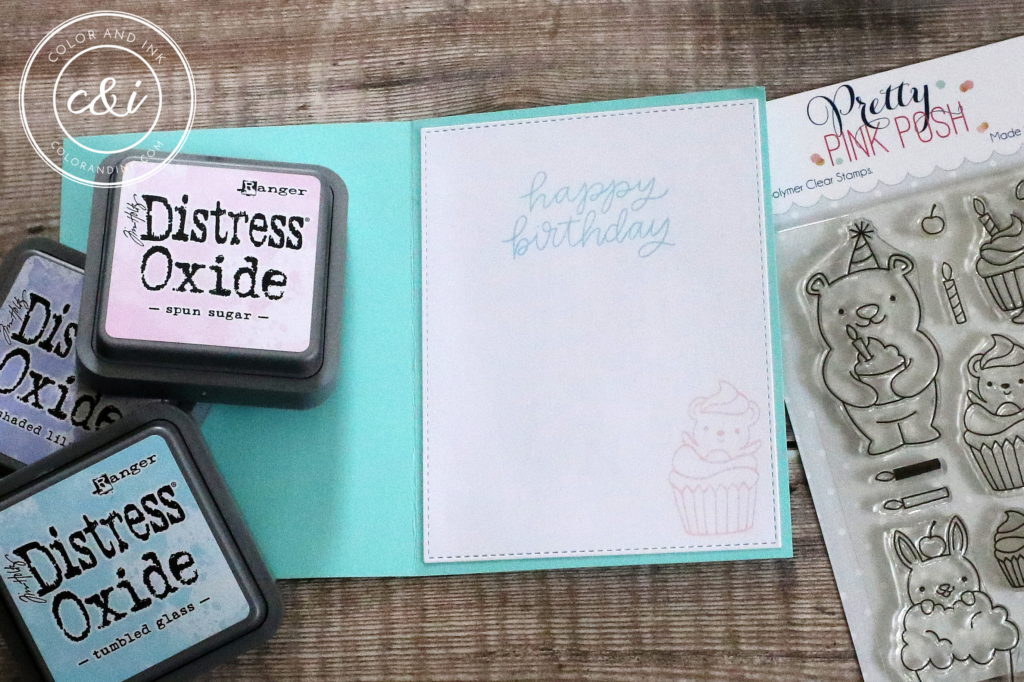
On the inside of the card, I stamped a sentiment from the Cupcake Critters set in Tumbled Glass Distress Ink as well as another image in Spun Sugar Distress Ink.
I apologize that this image is not very good. The sentiment and critter show up much better IRL.

Bonus Card
I thought it’d be fun to share a bonus card I made using this stamp set.
Image and Background
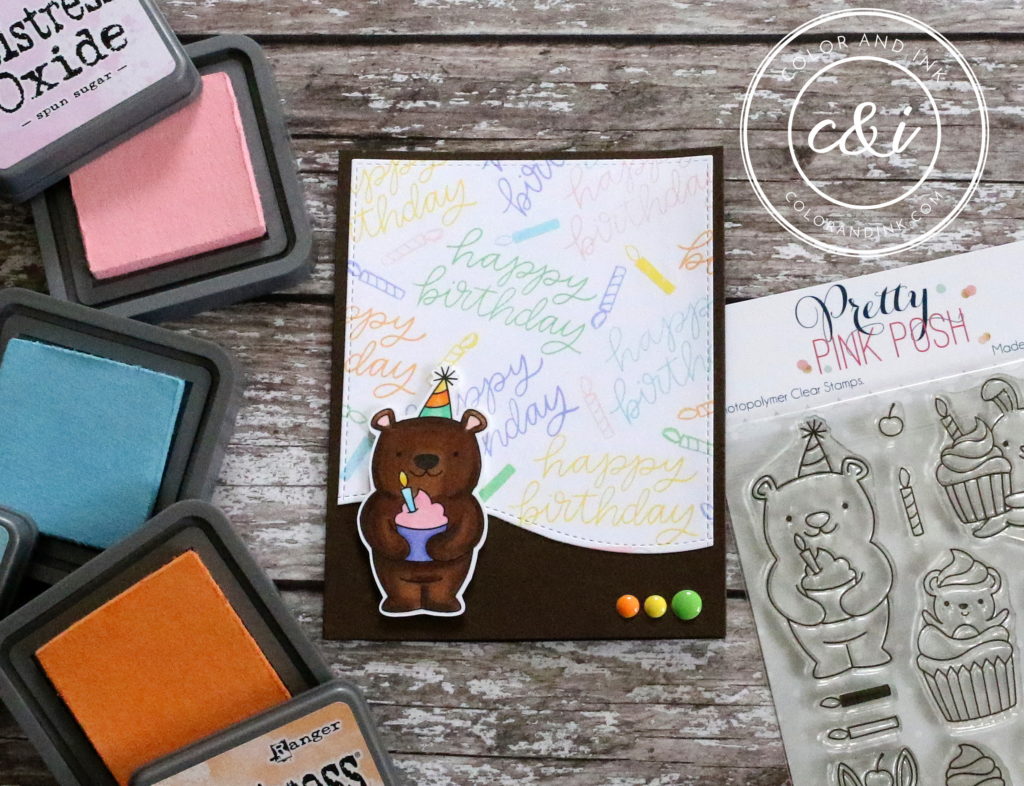
For this card, I selected the adorable bear from the Cupcake Critters set. I colored him with Copic markers and colored his accessories using the same pastel Copic marker combos as I did on the bunny card.
The background was created by stamping the “Happy Birthday” sentiment and two of the candles from the stamp set all over the panel using the same Distress Oxide ink colors as on the bunny card: Spun Sugar, Squeezed Lemonade, Wild Honey, Cracked Pistachio, Tumbled Glass, and Shaded Lilac. Next, I die cut the background panel with MFT’s A2 Stitched Rectangle Stax Set 2 die and then cut the bottom with one of the edge dies from SugarPea Designs’ Card Front Element Builder set.
Assembly and Finishing Touches
I popped up the bear up with foam tape and added three Your Next Stamp Gumdrops to the bottom of the card.
Thanks for stopping by and have a lovely day!

Leave a Reply